The level editor is the "workshop" used to create levels. It includes a variety of features, like placing shapes, hazards, triggering events, and more. The level editor is a core feature to the game, as gameplay is provided through user-made levels.
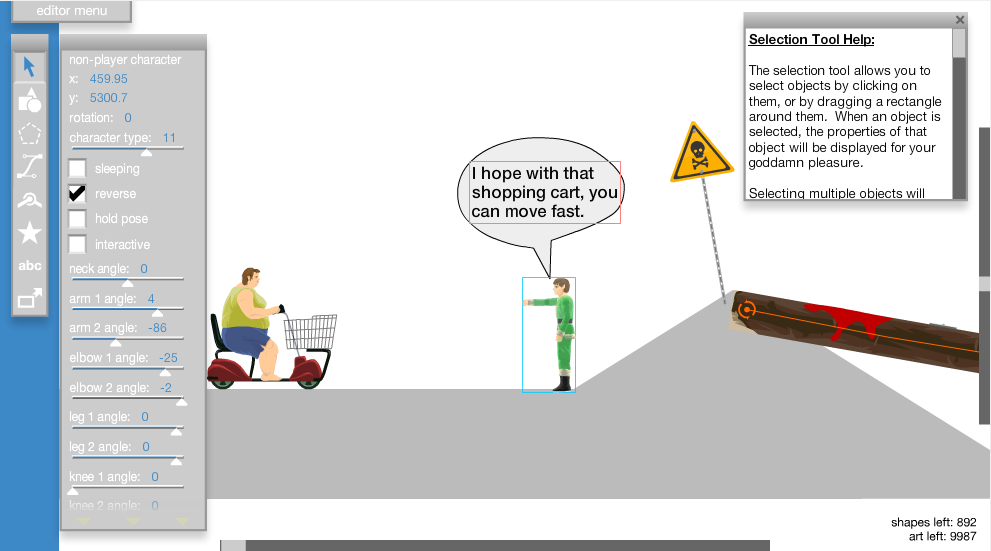
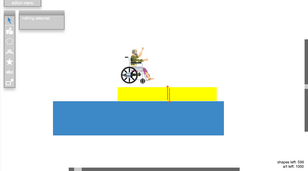
The level editor features a large 20,000 x 10,000 "stage" that can be used, with the outer edge featuring a thick, default-blue wall. The level editor has a shape limit of 900, and an art limit of 10000 (see below to find out how much an object takes up in shapes or art, and how to increase the art and shape limits). When entering the level editor, the help box to the right will show a welcome message. The left side controls what feature is currently being used, but by default, it will not be on any.
A character must always be present in the stage, so Wheelchair Guy will be the default character when entering the level editor. His default starting x-coordinate is 300, and his default starting y-coordinate is 5,100. The camera will automatically be at that location upon entering.
The smallest possible shape in the editor is a 2 x 2 polygon triangle, while the biggest possible shape is a 20,000 x 10,000 polygon shape that takes up the entire map. The smallest possible shape made by the shape tool is a 5 x 5 circle, and the biggest is a 5,000 by 5,000 rectangle.
Editor Menu
The level editor dropdown menu appears in the top-left corner of the level editor. It includes these seven options:
Test Level: This allows one to play their level in its current state as if it were a finalized user level, allowing them to check for bugs and make sure the level works as it is supposed to. You can also test the level by simply press the "T" key on your keyboard. To stop testing, press "T" again.
Level Options: This will make another menu appear in the middle of the screen. This menu only includes two options: the level backdrop and the background color. The available backdrops are blank, green hills, and city. Green hills features a background similar to that in Happy Green Hills, while City features a background full of buildings, similar to the buildings available as special items. The other option, background color, allows
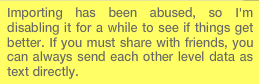
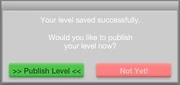
Previously, if you were to hover over to the "importable by others" box, this message will show up, but this has since been removed.
you to change the background with only color, instead of using non interactive shapes for background. The background color you select will be visible during gameplay, but not while you edit.
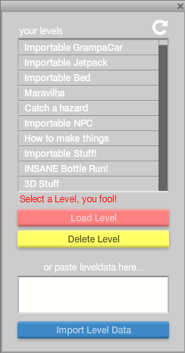
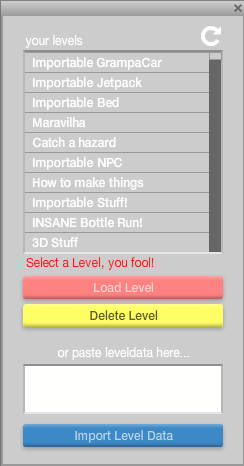
This happens if you click either the "Load level" or "Delete level" buttons without selecting a level.
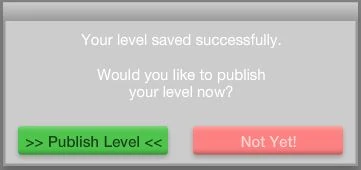
Save Level: This allows users to upload their levels to
After clicking "Save New Level", this toggle will appear.
the Total Jerkface servers. One may choose their level's name and add comments to it in the save menu. Levels can be made public after saving, allowing it to be played via the "browse user levels" menu. Once a level has been made public, it can no longer be overwritten. Edited public levels can only be saved as a new level. Alternatively, levels can be saved in text form as XML data (check the LevelXML page for more information about level XML data). Only registered users may save their levels. You can save it as a new level, which will come up in the load level menu, or overwrite the level, which will save over the old level. If you click on this option before testing, a message will appear telling you to test your levels before saving. It is recommended that users should use the XML saving system to ensure level data is not lost.
Load Level: This level brings up the user's list of saved levels, along with a text box for importing XML data for levels, and a button to delete the selected level. Like saving levels, only registered users may load levels.
New Level: This erases the current level completely. The user is warned that this option cannot be undone.
Show help: This toggles help boxes which appear by default. Help boxes may also be removed without the show help toggle by click on the "x" on the top right corner of the help box.
Debug Draw: This shows all physics and shapes when testing your level.
Fullscreen: Make the Level Editor and the rest of the game viewed in fullscreen mode.
Main Menu: This will bring you to go back to the main menu. Upon clicking it, it says "Are you sure you'd like to exit to the main menu? Unsaved work will be lost FOREVER".
Controls
+ / = (plus/equals key)/ Mouse Wheel Up - Zoom into level editor (will zoom in where cursor is located).
- (minus key)/ Mouse Wheel Down - Zoom out from level editor (will zoom out where cursor is located).
1 - Selection Tool.
2 - Shape Tool.
3 - Poly Tool.
4 - Art tool
5 - Joint Tool.
6 - Special Item Tool.
7 - Text Tool.
8 - Trigger Tool.
Left Mouse Click - Select a category, check tick boxes, place down object, select anything placed in stage, move around menu's (hold mouse button), move around anything placed (hold mouse button), etc..
Hold Shift + Left Mouse Click - Select multiple shapes/objects/NPCs or deselect a single object without deselecting everything that is currently selected.
Hold Space + Left Mouse Click - Click and drag to pan around the level editor area.
Tab - move to next typing selection (on the on-screen menu). Pressing Tab without anything selected will select any text placed in the level.
Backspace - Deletes whatever is selected.
Control + Z - Undo last action.
Control + Y - Redo last action.
Control + Up - Raise shape/object/NPC depth closer.
Control + Down - Raise shape/object/NPC depth further.
Note: 'Depth' means what layer it is on, having something with the closest depth will mean it's in front of everything else, while the furthest depth will be behind everything.
T - Test level, press again to exit testing.
F - While testing your level, press F to place a current-location marker, when you exit testing, there will be a large red circle indicating where you pressed F, testing the level again will remove any placed markers. It can be used 100 times each test.
W - Increase height of shape/object (if it can be adjusted).
S - Decrease height of shape/object (if it can be adjusted).
D - Increase width of shape/object (if it can be adjusted).
A - Decrease width of shape/object (if it can be adjusted).
Note: Hold Shift to increase/decrease by 10 each time. Multiple selected shapes/objects can be modified at the same time.
Z - Rotate shape/object/NPC counter-clockwise (if it can be rotated).
X - Rotate shape/object/NPC clockwise (if it can be rotated).
Note: Hold Shift to rotate by 10 each time. Multiple selected shapes/objects can be modified at the same time.
Up Arrow Key - Move shape/object/NPC up by one.
Down Arrow Key - Move shape/object/NPC down by one.
Left Arrow Key - Move shape/object/NPC left by one.
Right Arrow Key - Move shape/object/NPC right by one.
Note: Hold Shift to move 10 times more than the normal rate. The amount moved depends on what level of zoom you are in, further out = larger jumps in movement. Multiple selected shapes/objects/NPCs can be moved at the same time.
C - Copy shape/object/NPC.
V - Paste shape/object/NPC, hold Shift to paste it at the exact same spot it was copied.
Shapes are the base object for Happy Wheels. They are used to make art, ground and basically are 90% of the level most of the time. There are 3 different shapes: rectangles, circles and triangles.
Shapes can be fixed in place so that they will never move or budge, while if set as "unfixed" ("fixed" unchecked) makes them act as a natural object that falls. Shapes can also "sleep", which makes them frozen until they collide with something. The interactive toggle determines whether shapes are physically "there", or simply background objects. Non-interactive shapes cannot be set to sleep, and they lower the art count rather than the shape count. Non-interactive objects and non-fixed objects can be grouped.
By holding Ctrl + up or down arrow key, you can alter the depth of the shape/group, which changes which shape/group can overlap what shape/group. Holding Ctrl + down will make the object fall down a layer while Ctrl + up will move it up a layer. Selecting a shape (or multiple) and pressing C and then V clones the shape at the center of the visible screen, if Shift + V is pressed, it will paste the shape on the same coordinates they were copied. You can delete a shape by selecting it and pressing backspace (delete for Macs).
As of version 1.41, individual shapes can be given collision settings, which determine what type of object can hit each shape:
1. Collides with everything.
2. Collides with objects, but not characters or character vehicles.
3. Collides with nothing, usually for joints and background physics.
4. Collides with all objects except other collision 4 shapes.
5. Collides only with fixed shapes.
6. Collides only with fixed shapes and other shapes with collision set to this value.
7. Collides only with characters.
As of Version 1.61, you can cut a hole in the center of circles, useful for making wheels on cars or bikes, this, however, is only a visual effect, so nothing can be placed inside. Jim stated that this was a requirement of the physics engine.
As of Version 1.77, you can now select any color in the level editor using the color dropper in the color selector. This replaces the older way to grab a color from anywhere in the level editor, which was by dragging the circle inside the color spectrum onto somewhere outside the color selector.
Polygons are an alternative to shapes. They are used to create more complex objects besides squares, circles and triangles. All polygons have a maximum of 10 vertices when interactive, and 50 when not. When a polygon is interactive, you are limited to make shape edges clockwise. When not interactive, you can place edges in any direction. They have the same properties as shapes: opaqueness, density and collision. You cannot change the shape or the interactive/non-interactive properties of a polygon once it is made.
Joints are used to attach one object to another and to add motors to objects. Motors are most commonly used to create wheels (attaching a circle shape to a base using a motored joint), but many levels have alternate uses for motors, such as doors, swings, and spinning obstacles. To make a simple spinning object, place an unfixed shape, add a joint to it, and set "enable motor". The v1.79 update adds sliding joints which only slide on a single axis.
Motors spin objects counter-clockwise by default, but placing a "-" in front of the Motor Speed value causes the motor to spin the object clockwise. If a joint is placed onto an object with no other shape behind it, the object will be jointed to the background.
Pin Joint
The pin joint is the original kind of joint added in the original release of Happy Wheels. Selecting the "limit rotation" box allows you to determine stopping points for your motor. When the motor reaches either of the values in the "Upper angle" and "Lower angle" areas, it will cease to spin. A stopped motor will act as a fixed object unless an object of greater force than the current Motor Torque hits it.
A pin joint as it will appear in the Level Editor.
After v1.45, the pin joints were redesigned to have pointing arrows, rather than being just a circle. The reason for this is currently unknown, but it may be so people will understand that objects are supposed to rotate counter-clockwise when the motor speed is set to a positive number.
Joint Motor
Motors can be applied to joints by checking the "enable motor" box allowing either a rotation or a slide motor depending on what joint you are using.
Motor Torque is the force used to rotate a joint. Known as "motor force" for the sliding joint, an object of high density cannot be rotated when a motor has a low amount of torque. The maximum Motor Torque value is 99999.
Motor Speed determines how fast a motor spins. It does not independently determine the force of a motor, however, so a motor of very high speed can still be easily stopped by an low-density object if the motor has a low Motor Torque. The maximum Motor Speed is 20.
Sliding Joint
The sliding joint was added in the v1.79 update and allows mechanics like an elevator to be made much more easily. Checking the "limit range" box allows you to determine when the object jointed to the sliding joint will stop moving. An "axis angle" bar on the top allows you to adjust the angle at which the sliding joint slides. Just like the pin joint, the sliding joint has an "enable motor" box, as well as a "collide connected" box, however, the maximum motor speed in a sliding joint is 50, instead of 20.
Special items are a variety of detailed items, with many being destroyable, such as fruit, electronics, and tables. These items have a high shape count compared to regular shapes. Some have many toggles, while others are simply placed on the stage.
The trigger tool is used to activate various objects, such as jets, fans, and even wrecking balls. It can also play sound effects and to win the level. If a trigger is used to win a level, you do not have to be alive.
Other Features
"Flag Point"
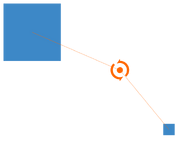
The flag point after pressing 'F' while testing the level.
Pressing "F" while testing a level will play a "ping" sound and create a flag point in the level editor to see where you were when you pressed it. This is useful for seeing where you land from a high distance. A flag point looks quite like the old pin joint, except it's larger, is pinkish-red, and has lower opacity. The feature was implemented in the v1.49 update. Testing the level again after placing the flag point will cause it to disappear. You are allowed 100 of these in one test.
Playable Character Options
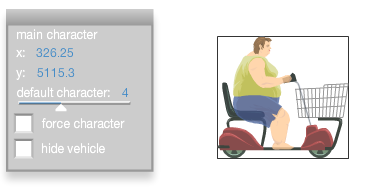
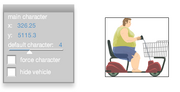
The main character options.
Clicking the character in the level editor will give you multiple options, like changing it to one of the other playable characters, editing coordinates, making the character forced, and hiding the vehicle. Forcing a character will result in the publicly saved level only allowing that specific character to be played. Hiding the vehicle will remove the character's vehicle so it will not be used in the level. If you check it off on a dual character such as Irresponsible Dad, Moped Couple, or Santa Claus, the secondary character(s) will be gone along with the vehicle.
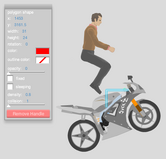
On v1.58, a new tool that allows functioning custom vehicles to be made was included.
Edit Groups/Vehicles
You can enter groups/vehicles by double clicking on a grouped object, and editing it instead of breaking the group and editing it. When double clicking to enter a group, anything outside of the group will darken, and anything that is not part of the group can not be edited until the group is deselected. To exit group editing, double click something that is not part of the group (such as the background).
Pressing "T" while editing a group will result in the red message at the top of the editor to display "exit group before testing level".
Glitches
As per the v1.51 update, it seems that the level editor may crash for no apparent reason when you try to test a level. This could happen for a number of reasons: you need a new graphics card, update your drivers, etc.
On Macs and some Windows computers, sometimes levels such as 'don't moves' don't work because they were made on a different computer. For example, a Windows user-created 'don't move' level won't work on a Mac. This happens due to different computers having different processors, which process the game differently. This is also the reason for accurate and inaccurate replays.
As of v1.75 update, if you use the scroll wheel to zoom in or out, it also moves your browser page up and down. Jim has stated this will be fixed but it's a low priority issue.
When saving a level and the publish level option comes up, hovering your cursor over the green button will display a yellow box explaining what happens when you publish your level. However, if a trigger is directly behind the publish level box and you hover your cursor over it and the yellow box overlaps on the trigger in the background, the trigger will turn green and blue.
If you enter Fullscreen Mode from the Level Editor dropdown (NOT from the main menu or pause menu in public levels), the broswer's borderline will be visible with the taskbar at the bottom. This is usefull if you want to use another program with HW running at the same time without exiting the fullscreen mode or pressing ALT+TAB.
The level editor has many glitches and exploits that can create unintentionally strange effects in playable levels, these include:
Black Hole Glitch. This glitch will teleport the player and everything un-fixed to the top left of the screen, it happens when the player hits a shape with incorrect values. To make a Black Hole, place any shape and uncheck 'Fixed' then in 'Density' type: "." . and press enter, it will change the value to say NaN. Place the shape on the map, and when you come in contact with it, you will be teleported to the top-left of the screen (you will not be able to do anything, so restarting is necessary). This glitch can also work for some special objects, such as: Spikes, Boosts, Fans, Blade weapons, etc. On the 'Rotation' of the object, type: - and press enter so that it turns into NaN. The shape will not be able to rotate any longer and will always remain in the default rotation. When doing this the shape will become 'Un-interactive' so it can be seen in-game but you will go right through it, and it will have no effect on you (note: The black hole glitch only works if your characters heart touches the shape).
Melt Glitch: This glitch will have the player and un-fixed objects 'melt', they will get pulled downwards until they fall through the bottom of the map. To perform this glitch, place a Spring Platform onto the map, then place a Black Hole (explained above) above the Spring Platform, so that, when hit, it will hit the Black Hole. This will cause the top Spring Platform piece to disappear (and go to the top left of the screen) and everything else will slowly "melt" downwards. If you attempt to do this with a Paddle Platform, instead of the melt glitch, everything will turn into a black hole. The Melt Glitch does not work on rails, because the rail does not have a toggle for being fixed or un-fixed. Though, buildings can't be toggled as fixed or un-fixed, but you'll melt into them anyway.
Ultimate Spin: To perform this glitch, place a Pin Joint with a motor torque of 99999 onto any non-fixed object (it can be a shape or a special item), then set the motor speed to "NaN", which is done by typing "-" into the Motor Speed value and pressing enter. Once this has been done the object will spin at a ridiculously fast speed and can easily destroy very strong objects. Even 5x5 shapes can be deadly with this glitch applied.
Art limit message glitch: This glitch occurs when in the level editor, if the shape or art limit is reached and you don't delete any shapes, quit out of the level editor and don't save, the red text: 'You've reached the art limit. Delete some art objects' will remain still on the screen even when you're not in the level editor.
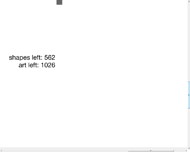
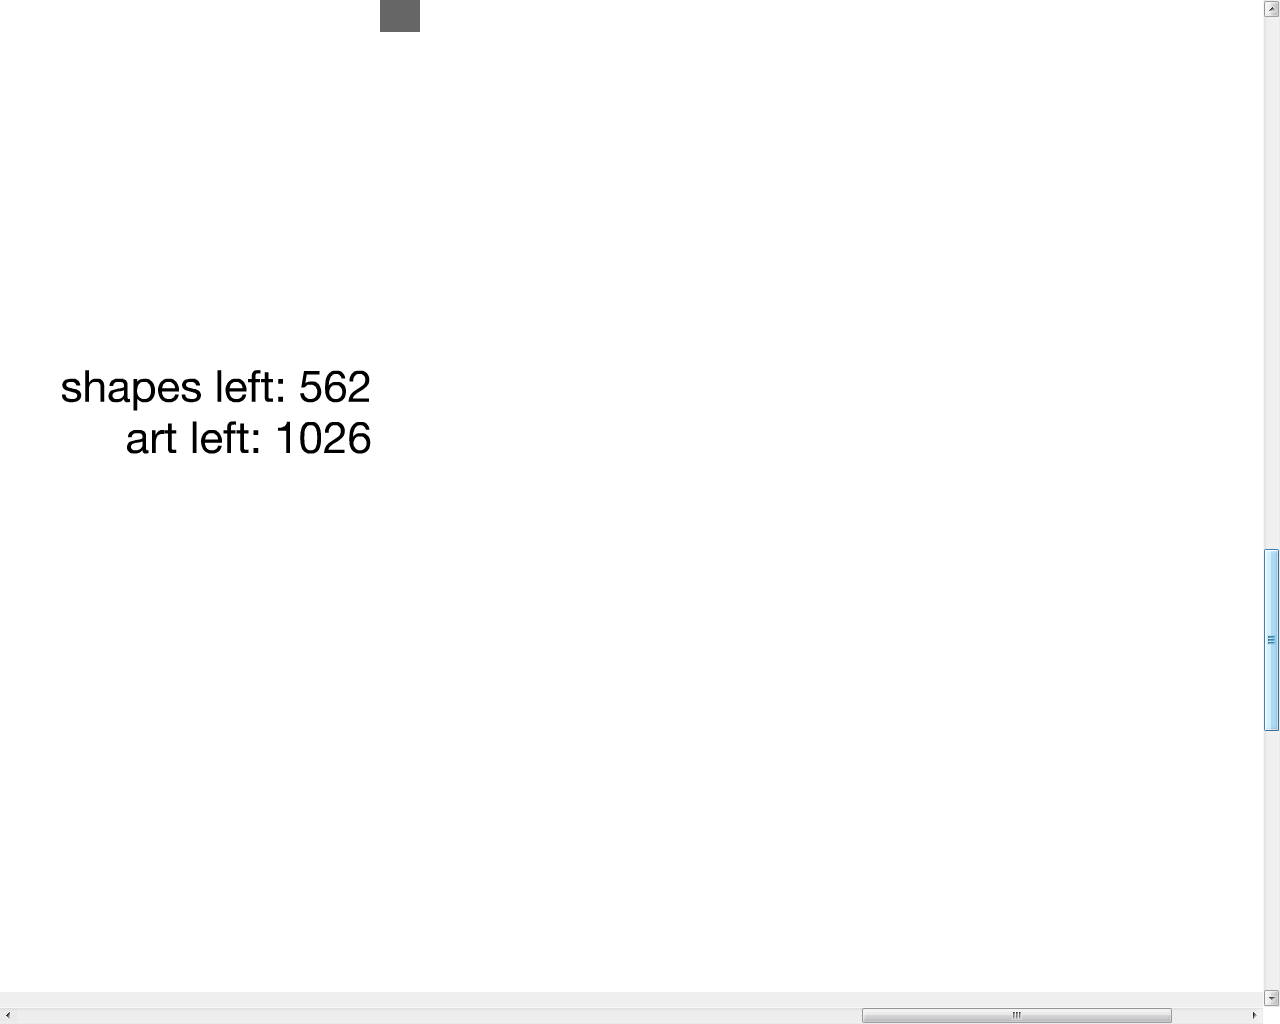
A different type of art glitch.
Shape/Art limit glitch: This glitch makes the shape/art limit increase, but the level itself does not change. Jason says it is a side effect of the v1.56 update. To perform the glitch, save the level, then load the level a couple of times.
Debug Draw glitch: This glitch occurs when the player enables the debug draw option, leaves the level editor, returns, and tests the level. The "debug draw" feature remains enabled even though it automatically disables itself when the player leaves the editor.
Trivia
In the past (the specific date is unknown), when you click on a pink or blue button, a clicking sound
The current tools bar.
plays. This has been removed, it is unknown why.
Jim based the keyboard shortcuts on Adobe Flash shortcuts. Rotating, copying, and pasting are all the same in Adobe Flash.
The lighting in the Level Editor comes from the right of the stage, as shown from Building 2.
Collision 5 and 6 shapes can't collide with fixed collision 2 and 4 shapes, even though it was stated that they can collide with fixed shapes.
According to its debug draw feature, dynamic objects that completely stop moving for a very small period of time will fall asleep (their collision boxes turn red). However, the main character is kind of the exception; the character's head, torso, and pelvis will not fall asleep when they have stopped moving, even if they were ripped apart.
Jim based the axis positions of objects in the level editor x (side to side) and y (up and down), even though the z-axis is up and down, and the y-axis is forward and away.
If a detailed level is displayed in the level editor, it will run slower then it does when it is published to the level browser.
When you double click on a grouped object to enter it, and use the color picker in the color selector on the background or anything that is faded out behind the group, it will visually change to that color even though it's not the background's, shapes', or objects' original color.
Differences in Public and Level Editor Levels
In the level editor, you cannot pause or rate a level.
To end a level, you have to press "T" to stop.
You can't view or save a replay in the editor.
The "VICTORY" logo doesn't appear in the level editor when you win the level.
The frame rate may run slower than in the publish level depending on how much is in it.
Video
Happy Wheels Tutorial for Beginners
Happy Wheels Tutorial for Beginners
Mobile Level Editor
A simplified version of the level editor is available in the app, which has a great deal of similarities to the browser level editor, as well as many differences.
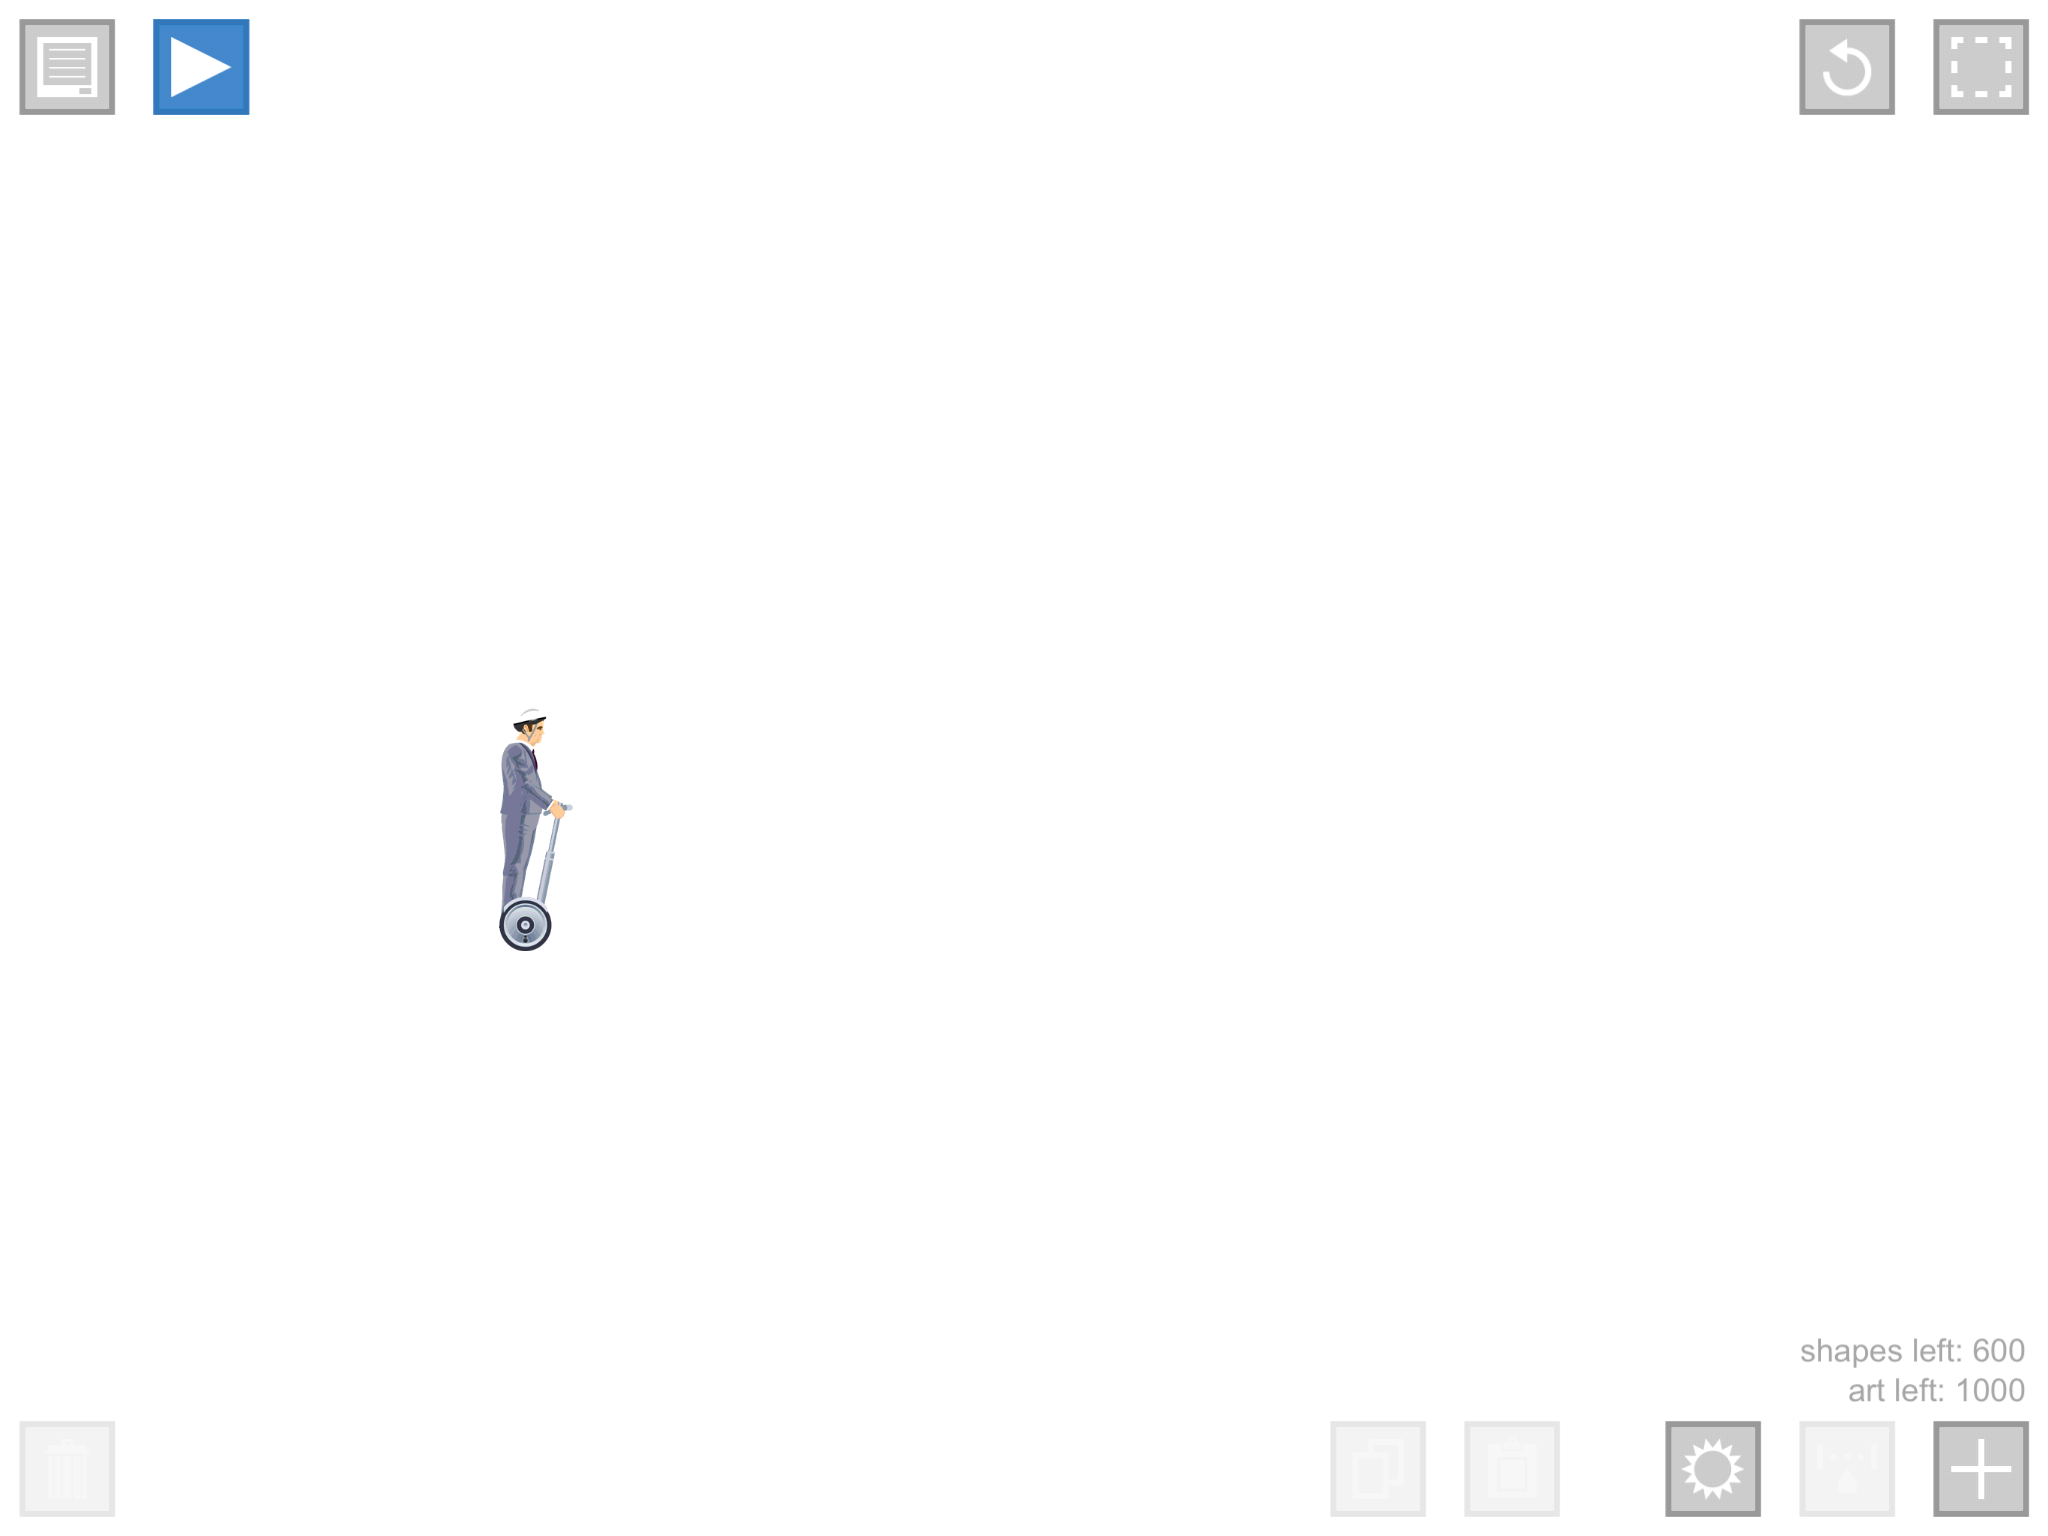
What it looks like when you enter the level editor.
Overview
The space provided in the mobile level editor is 12800 x 6400, which is significantly larger than the space provided in the browser version. The shape and art limits also differ from the flash version; in fact, they are the limits that were previously put in the browser level editor, which were 600 and 1000, respectively.
Since (like in the browser version) a character must always be present on stage, Segway/Business Guy will be the default character when entering the level editor. His x-coordinate will be 3000, while his y-coordinate will be 2000 by default.
The smallest possible shape is a 3.20 x 3.20 circle, while the largest shape that can be made is a 3200 x 3200 square, which occupies a quarter of the length of the level editor stage, as well as half of the height.
Controls
Since no keyboard is available to execute controls such as rotation, another way to move objects around, as well as rotate them, has been made exclusively for the Happy Wheels app in order to bypass this problem. When an object/item is selected, two overlapping, transparent circles will appear over the object. The larger one can be used to rotate the object, while the smaller one can be used to move the object around.
In addition to this, 10 buttons are found on-screen which can change things to the level, as well as things in the level:
1. Editor Menu
This button, which is found on the top-left corner of the screen, contains 10 options, in which some change the way something works in the level, while others do something to the level itself:
Save Level - This button saves the level that is currently being made. You can then name it and add a description if you want. If you are editing a level that was already saved and then you save it, you can either save it as a new level entirely or save the level, but with the changes made.
New Level - This button completely removes the level that is on stage, giving you all of the space provided in the editor for a new level.
Load Level - Once pressed, you are directed to a list of all the saved levels, that are categorized into two sections: "Your levels", and "Imported Levels". Here you can play, edit, delete or share your levels.
Share Level - This button allows you to share your levels with other people through various means, such as Mail.
Main Menu - This button brings you to the main menu of the game. If you press this, you are asked if you would like to "lose changes", to which you can answer "yes" or "no".
Lock Selection - If you select an item, or a group of items and then press this button, you will not be able to select them anymore. This can be useful when trying to handle a vast number of shapes or items.
Unlock All - Any items that have had their selection locked can be unlocked with this button, making them selectable again.
Rotate Items Separately - This slider option allows you to rotate two or more selected items at the same time, as if you were rotating them individually. If this option is turned off, then the selected shapes will rotate as if they were one block.
Paste In Place - If this slider option is activated, every copied item will be pasted in the exact location that the original item was in.
Center To Character - Pressing this button will make the camera go to the character, so that you can view him. This button is helpful if you are unable to find the character.
Close Menu - This button simply closes the editor menu, although you can tap outside of the menu to close it.
2. Test Level
This button, which is found next to the editor menu button, allows you to test what you have made.
When testing a level, the pause button is replaced with a button with an "x" in it; this allows you to stop testing the level and return back to the level editor.
3. Undo
This button simply undoes the last action done in the level editor.
4. Toggle Select/Pan
This button allows you to toggle between being able to zoom in and out, and being able to select objects.
5. Delete Selected Items
This button, which is located in the bottom-left corner, will delete any selected shapes once it has been pressed on.
6. Copy Selected Items
Any selected items can be copied using this button.
7. Paste Copied Items
Any items that have been copied can be pasted into the level editor, giving an exact replica of the original shape(s).
Once this button has been pressed, you are given a list of all the possible backgrounds that you can use in your levels. There are six of them:
None - If you select this, you will not have a background in your level. The only thing that will be shown throughout the level is the color white.
Green Hills - Just like in the browser version, this background features multiple lush, grassy, and slightly-out-of-focus hills. The most prominent level that features this background is "Happy Green Hills".
Clouds - This is similar to the "Green Hills" background, except that all of the green hills are missing, leaving only the clouds and the blue sky.
Honeycomb - This background features an enormous amount of grey hexagons, sitting side-by-side. It is similar to the honeycombs that bees make to store honey and eggs.
Bricks - This background features a wall of grey bricks that fills up the entire map.
Solid Color - Here, you can choose what color you would like your background to be in.
9. Edit Item Parameters
Basically, this button shows you the properties of a selected item. In the mobile version, shapes are the ones with the most options. Now, there are differences regarding the properties of shapes in the mobile version from the flash version:
Firstly, angles go up to 360, so no negative numbers are present when it comes to rotation. Second, the way colors are selected is through three slider options, where one of them gives its own level of red, the second one for green, and the last one for blue (RGB). The sliders have whole number values, ranging from 0 to 255, with black meaning that all of the sliders are set to 0, while white means that all of the sliders are set to 255. The next thing is that the slider option for opacity is notated as the letter 'a', but the values still go from 0 to 100. Finally, collision settings only go up to 6, while in the browser version, they go up to 7.
If you select the main character, you can then press this button to change the character, force the character, or hide the vehicle of the character. There are five characters that you can play as in the level editor. They are Wheelchair Guy, Business/Segway Guy, Irresponsible Dad, Effective Shopper, and Moped Couple.
10. Add Items
Here, you are presented with a list with all the possible items that you can put in your level. It is very similar to the special items list in the flash version, except for the fact that shapes are included; a lot of items are missing; and one item is exclusive only to the mobile version. In addition to this, there is a small image of what an item looks like next to its name. In total, there are 34 different items to choose from:
It is currently impossible to group two items together. As such, no vehicles can be made.
Despite there being an undo button, there is no redo button.
Interestingly, there used to be an extremely tiny, white dot in the center of every shape. This could have been used to align multiple shapes together. This seems to have been "fixed".
The slow motion panel in the items list looks different than what it is supposed to be. In the items list, it is a dark-grey square with a white outline of a stopwatch inside it, while in reality, it is a light-grey square, with a dark-gray outline of a stopwatch inside it.
If you go to the list of saved levels, you will find a saved level in the "Your Levels" section called "Example Level". It is a very small, but difficult level, featuring Effective Shopper. There is an image of it, which is one of the five images that are showcased in the Happy Wheels App. (Go to the bottom of this page to read more about this level).
A lot of the tools that are found in the browser version are still not yet available in the mobile version. These are: The poly tool, art tool, joint tool, text tool, and trigger tool.
Unlike in the browser version, if you exit and close the game as you were creating a new level, the level will not be saved.
Objects in the browser level editor can have decimals in their co-ordinates. This is not the case in the mobile version.
Currently, you cannot edit multiple objects at the same time. When selecting two or more objects at the same time, the "Edit Item Parameters" button simply becomes grayed-out and unusable.
Prior to the v.1.0.8 update, the level editor stage used to occupy a 23040 x 11520 area.
Before the v.1.0.8 update, the default "x" and "y" co-ordinates of the main character used to be 5400 and 3600 (respectively).
Glitches
Sometimes, the undo button might not always work like it's supposed to. For example, reversing the length of a shape to a previous one might actually give a different length than what it was before.
There is the possibility of a shape having its collision setting set to 0 in a saved level. Although it will show the number '0', the shape will act as if it were set to collision 1.
If you put a shape, which is in any state (i.e. fixed, non-fixed, sleeping, non-sleeping), close to a sleeping shape, it will "wake up" despite there not being any contact between the two shapes.
There used to be a glitch where the changing the color of the background would not work, so regardless of what color you chose, the color of the background when testing a level would have always been white.
While the hide vehicle option works, the vehicle of a character does not get hidden before testing a level.
Gallery
How you move an object.
How you rotate an object.
The "Items" list.
Another image of the "Items" list.
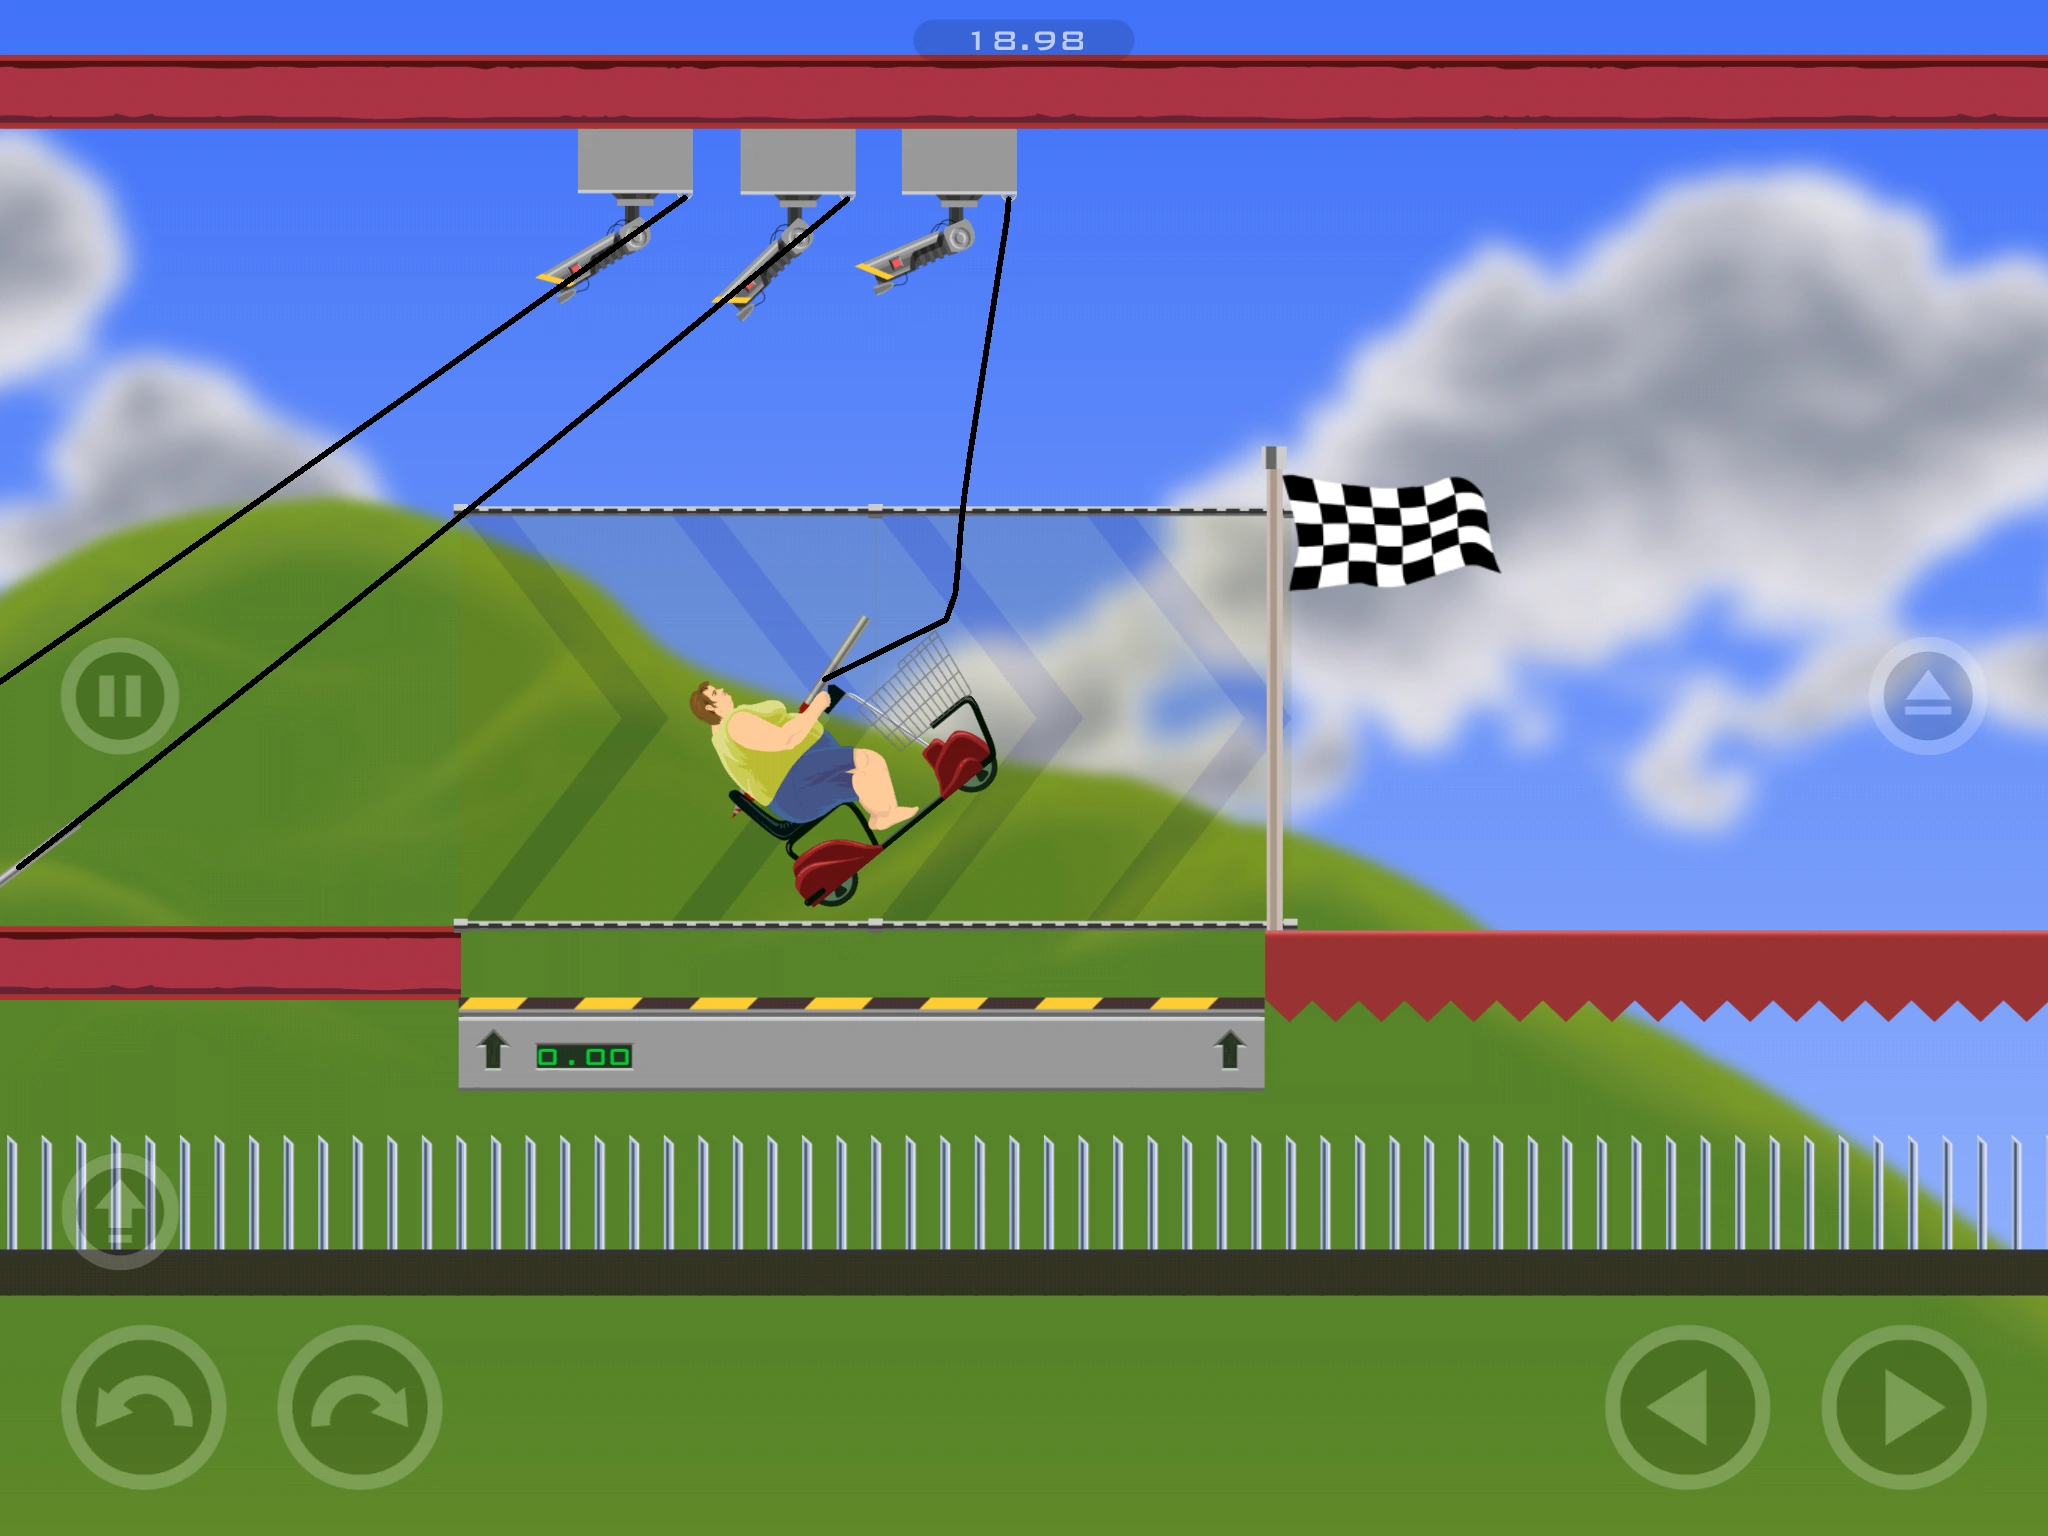
Example Level
Example Level is a level which can only be found in the mobile level editor. As its name suggests, it is just an example of what one can do in the editor. Effective Shopper is the selected character to be played by default, but you can play as any other character.
The level itself is quite short, with only one small obstacle in-between the spawn point and the finish line. The level takes place in a very small structure, which is only made out of a few I-beams. The player starts off next to a soccer ball, along with a fan which is blowing behind them (the fan does not push the character). While the level is quite short, it is quite difficult to complete. The player must first jump over two landmines, and then, attempt to dodge three harpoon guns all whilst going through a boost which leads to the finish line. There is also a spring platform underneath the boost which may help the character stay in the boost. (However, it may push the player into the ceiling and cause them to get stuck if they have a harpoon in them). Underneath all of this, there is a long set of spikes, but are out of reach.
Trivia
Since the level can be found in the level editor, it can be edited. This means you can do things such as moving the character over to the finish line, or delete the harpoon guns etc.
When tapping on the app in the app store, images of this level can be seen.


")
")
")
")
")
")
")
")
")
")
")